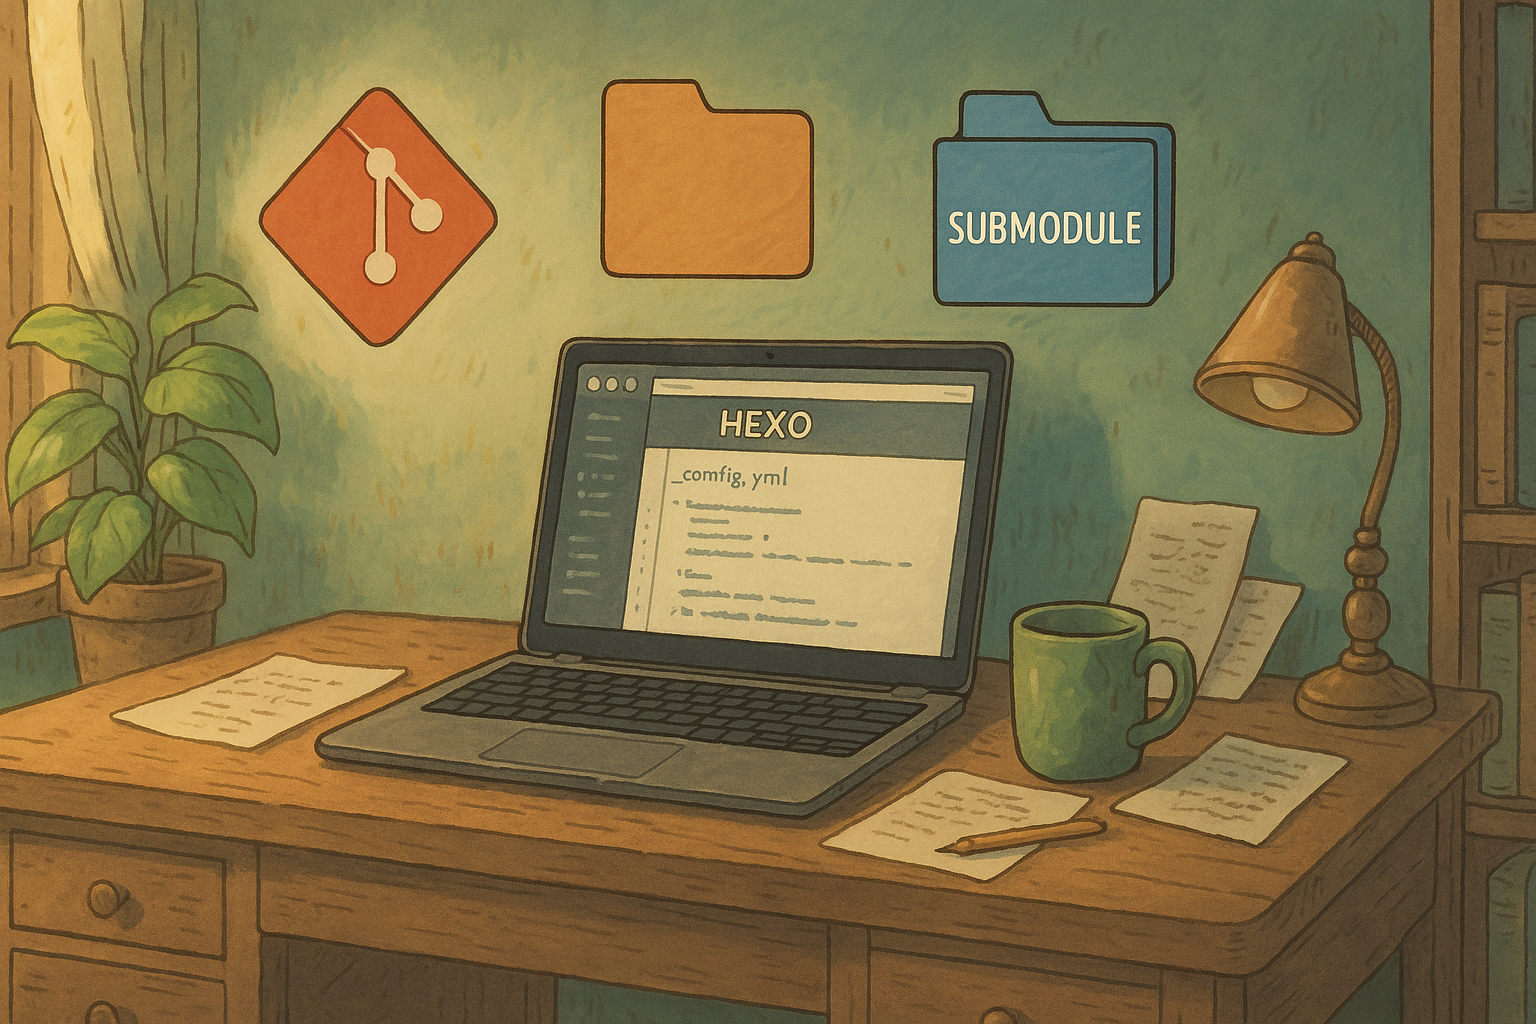
使用 Hexo 搭建 AI 编程风格的吉卜力风博客
本文整合了我在搭建博客过程中的对话内容,系统地记录了使用 Hexo + Volantis 搭建一个 AI 编程主题的吉卜力风格博客的过程,包括部署、主题安装、美化、图标替换、壁纸设置与自动刷新等内容。
1. 项目初始化与环境准备
1 | npm install -g hexo |
确认版本:
1 | hexo -v |
✅ 为什么要确认版本?
Volantis 主题对 Hexo 有最低版本要求。根据 Volantis 官方文档,推荐使用 Hexo 6.3.0 或更高版本,以获得最佳兼容性和功能支持。
使用以上命令检查当前版本是否符合要求。如果你的 Hexo 版本低于要求,可以通过以下方式升级:
1 | npm install -g hexo@latest |
2. 主题安装与配置 Volantis
✅ 推荐使用 Git 子模块的方式安装主题,以便未来方便升级、避免嵌套仓库冲突。
2.1. 安装 Volantis 主题(推荐方式 ✅)
- Fork Volantis 仓库到你自己的 GitHub 账户
前往官方仓库:
👉 https://github.com/volantis-x/hexo-theme-volantis
点击右上角的 Fork,创建你自己的 Volantis 仓库,例如:
1 | https://github.com/your-username/hexo-theme-volantis |
之所以这样做,是因为后面会对 volantis 的源码进行一些修改,通过_config.yml 的修改不起作用
- 将当前 themes/volantis 绑定为你自己的 fork
1 | cd themes/volantis |
你应该看到:
1 | origin https://github.com/your-username/hexo-theme-volantis (fetch) |
- 推送你当前本地修改到你自己的 fork(而不是官方)
添加官方仓库为 upstream 远程,方便后续同步更新
1 | git remote add upstream https://github.com/volantis-x/hexo-theme-volantis |
将来如果官方有更新:
1 | ## 拉取官方更新 |
- 用 Git 子模块正式管理主题,使得整个流程更加清晰
1 | ## 在主 Hexo 项目根目录下执行 |
这会将 volantis 主题作为一个 Git 子模块管理,优势如下:
- 便于更新:只需进入子模块目录
themes/volantis,运行git pull即可同步官方主题更新; - 干净的仓库结构:不会将主题代码混入你的主仓库提交中;
- 避免冲突:防止主题目录被错误识别为嵌套 Git 仓库,减少 Git 管理异常。
2.2. ❌ 不推荐的方式(容易踩坑)
1 | git clone https://github.com/volantis-x/hexo-theme-volantis.git themes/volantis |
具体的原因可以参考第四部分内容:Volantis 子模块管理:踩坑与修复实录
2.3. 配置主题
确认主题安装后,在 Hexo 根目录的 _config.yml 中添加:
1 | theme: volantis |
3. 推送到 GitHub Pages
3.1. 添加远程仓库
1 | git init |
3.2. 添加 .gitignore,忽略 public/ 与 node_modules/
.gitignore 文件正常应该已经包含了 public 和 node_modules,如果已经包含,请忽略这一步
1 | echo "public/" >> .gitignore |
3.3. 配置 Hexo 部署到 gh-pages
1 | npm install hexo-deployer-git --save |
1 | ## _config.yml |
3.4. 发布博客
1 | hexo clean && hexo g && hexo d |
4. Volantis 子模块管理:踩坑与修复实录
在最开始安装 Volantis 主题时,我直接执行了如下命令:
1 | git clone https://github.com/volantis-x/hexo-theme-volantis.git themes/volantis |
看起来一切都很顺利,但当我尝试 git add . 时,Git 却抛出了一个警告:
1 | warning: 正在添加嵌入式 git 仓库:themes/volantis |
这说明 themes/volantis 目录本身是一个 Git 仓库,等于你把一个完整的仓库嵌套到了你的博客仓库中。Git 不推荐这样做,除非使用子模块机制。否则未来推送或克隆项目时会遇到一堆问题,比如主题目录丢失、部署失败等。
4.1. ✅ 正确的解决方案
- 移除嵌套的 Git 仓库:
1 | git rm --cached -r themes/volantis -f |
- 以子模块方式重新添加:
1 | git submodule add https://github.com/volantis-x/hexo-theme-volantis.git themes/volantis |
- 初始化并同步子模块:
1 | git submodule init |
4.2. 🤔 如何一开始就避免这个坑?
记住:安装 Hexo 主题时,推荐使用 git submodule add,而不是 git clone。
正确方式如下:
1 | git submodule add https://github.com/volantis-x/hexo-theme-volantis.git themes/volantis |
(如果需要修改 volantis 的源码,则另外需要 fork 一份,按照上面第二步的操作进行)
这样做的好处是结构清晰、维护方便,更新主题也简单,只需进入子模块目录执行:
1 | cd themes/volantis |
4.3. 🔄 后续管理提醒
若以后在新机器上克隆项目,需加上 --recursive 选项:
1 | git clone --recursive https://github.com/yourname/ai_blog.git |
或补执行以下命令:
1 | git submodule init |
5. 字体与图标美化
5.1. 替换网站 favicon 图标
1 | ## _config.yml |
上传你自己的图标至 source/ 目录。
5.2. 替换 Logo 与博主头像
1 | ## _config.volantis.yml |
5.3. 首页封面布局简化
改用简洁风格
1 | cover: |
5.4. 更换博客背景图为 AI 吉卜力风
1 | cover: |
6. Font Awesome 字体本地化
6.1. 目标
避免 CDN 依赖,提升加载速度与离线浏览体验。
6.2. 修改步骤
步骤:
1.下载这两个字体文件
在你的项目中(建议放到 themes/volantis/source/media/fonts 目录):
1 | mkdir -p themes/volantis/source/media/fonts/VarelaRound |
- 打开 /css/all.min.css,搜索类似:
1 | src: url("../webfonts/fa-solid-900.woff2") format("woff2"); |
这个路径表示的是从 HTML 中 /css/all.min.css 出发,回退到根目录后访问 /webfonts/,这在你的部署目录下应当是:
1 | public/css/all.min.css |
将 CSS 中路径手动替换为绝对路径:
1 | src: url("/webfonts/fa-solid-900.woff2") format("woff2"); |
- 修改 theme/_config.yml:
1 | plugins: |
| 意思是:不要让 Volantis 插件插入 Font Awesome 的 CSS,我们手动插入
- 在 themes/volantis/layout/_partials/head/head.ejs 中,手动添加这段(确保放在合适位置,比如 末尾):
1 | <link rel="stylesheet" href="<%= url_for('/css/all.min.css') %>"> |
确保你本地的 themes/volantis/source/css/all.min.css 和 webfonts 文件夹都已就位
6.3. Git 提交
1 | cd themes/volantis |
注意:这只影响子模块内,避免影响官方仓库建议在 GitHub 上 fork Volantis 仓库再作为子模块使用。
7. Hexo 开发效率优化与自动刷新
7.1. 安装 browser-sync 插件
1 | npm install browser-sync --save-dev |
7.2. 自动生效体验
在使用 hexo s --draft --open 时 Hexo 会自动集成 browser-sync,页面保存后自动热更新生效。
7.3. 清理遗留 public 文件
切换到 gh-pages 分支部署后,main 分支不再需要保留 public/ 内容:
1 | git rm -r --cached public/ |
确认 .gitignore 中已添加 public/ 条目。
8. 自动化部署脚本
deploy.sh
1 |
|
使用方法:
保存脚本为 deploy.sh
赋予执行权限(仅第一次):
1 | chmod +x deploy.sh |
- 每次发布时执行:
1 | ./deploy.sh |
9. 总结
本次博客搭建过程较为完整,期间踩坑不少,如 Git 子模块管理、Volantis 子仓库嵌套、字体本地化路径、Hexo 部署分支等。也收获很多:
- 将博客部署到 gh-pages 分支,主仓库保持干净
- 美化 Logo、背景、图标统一风格
- 替换外部依赖为本地资源,提升加载速度
- 自动化开发环境,大幅提升效率
🌐 博客地址:https://ai.he0xwhale.xyz